REVIEW · FLORENCE
Florence: Painting experience, create your Florentine Lily!
Book on GetYourGuide →Operated by Itinera Experiences · Bookable on GetYourGuide
That first touch of gold changes everything. This Florence workshop turns a simple symbol—the Florentine lily—into an hands-on painting you can actually finish. I love that the lesson is built around step-by-step traditional methods, and I also love the fun, very practical gold-foil gilding portion that makes the design feel like real old-master craft. One thing to consider: the class gets physical and detailed, so if you dislike careful handwork or messy materials, it may not be your vibe.
You’ll work in Andrea’s studio with a small group limited to 4 people, which keeps the pace friendly and the guidance close. You also leave with a finished painting you made yourself—so it’s not just a tour stop, it’s a takeaway you’ll keep.
The only real drawback I see in the setup is the schedule: it’s a 3-hour workshop in one set place on Via Enrico Petrella. If you’re trying to cram Florence by hopping between sights all day, you’ll want to protect this time block so it doesn’t feel rushed.
In This Review
- Key highlights you should care about
- Inside Andrea’s studio on Via Enrico Petrella
- How the lesson starts: origin talk plus materials
- Carving, dusting, and joining the dots (the lily takes form)
- The gold-foil moment: gilding the lily edges
- Tempera painting: choose your lily color
- What you take home (and why it’s more than a souvenir)
- Duration, group size, and pacing in 3 hours
- Price and value: what $141.61 buys you
- Who should book this workshop (and who might not)
- Should you book it?
- FAQ
- How long is the Florence painting workshop?
- Is the class beginner-friendly?
- What languages are available for the instructor?
- How many people are in the group?
- What’s included in the price?
- Where do I meet Andrea?
Key highlights you should care about
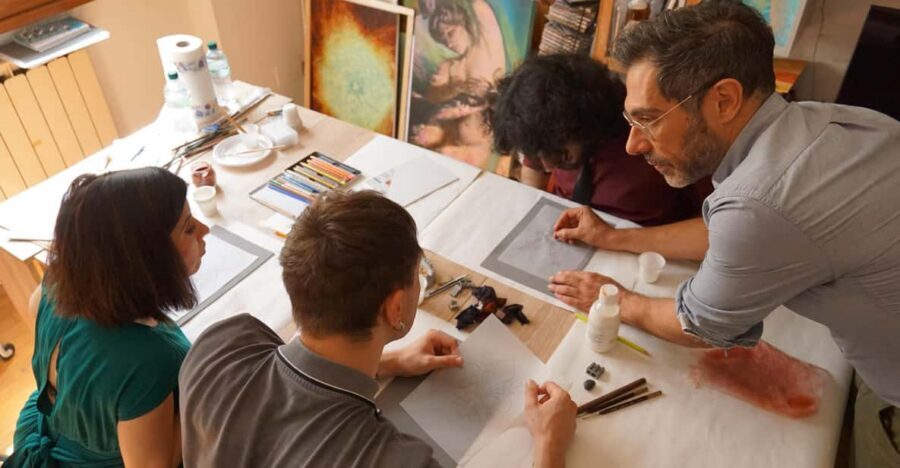
- A maximum of 4 participants, so you’re not painting while someone else gets the attention
- Andrea’s 25 years of experience, with step-by-step teaching from the start
- True gilding technique with gold foil, where you remove foil only within the lily edges
- A structured build-up of the image, from tracing dots to coloring with tempera
- Materials included, from canvas and brushes to gold foil and tempera paints
- You take your painting home, ready as a meaningful Florence souvenir
Inside Andrea’s studio on Via Enrico Petrella
This workshop happens in a real studio setting, not a big classroom. You meet at 22 Via Enrico Petrella, buzz the doorbell labeled Bacalini, and Andrea lets you in. The studio is on the third floor with an elevator, which is a useful detail if you’re carrying a day bag or camera gear and don’t want stairs to be part of the plan.
Once you’re inside, the tone is practical. This isn’t art history trivia. It’s you learning a specific Florence symbol through the same kinds of techniques you’d associate with older painting traditions. The benefit for you: you get to spend your time making something, not just looking at something.
And with the group capped at 4, you’re not waiting your turn. You can ask questions as you go, especially when you hit the fiddly parts like tracing the design and working with gold foil.
You can also read our reviews of more tours and experiences in Florence.
- Tuscany Day Trip from Florence: Siena, San Gimignano, Pisa and Lunch at a Winery
★ 5.0 · 21,634 reviews


How the lesson starts: origin talk plus materials
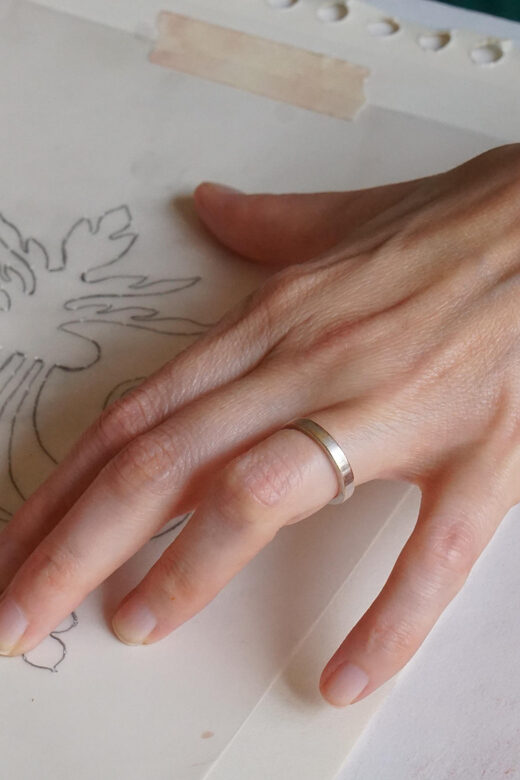
The class begins with Andrea walking you through the origin of the painting techniques you’ll use and the materials for the session. That matters more than it sounds. When you understand what a technique is trying to do, you’re less likely to panic if the first step doesn’t look perfect.
You’ll then start the hands-on process fairly quickly. You’ll be guided to build your Florentine lily from the ground up, with a method that’s easy to follow even if you’ve never painted before. The workshop is specifically positioned for beginners, and that shows in how the steps are broken into manageable actions.
You’re using all the essentials during the class:
- canvas
- pencils
- brushes and glue
- tempera and paints
- props for shaping the lily
- gold foil for gilding
Carving, dusting, and joining the dots (the lily takes form)
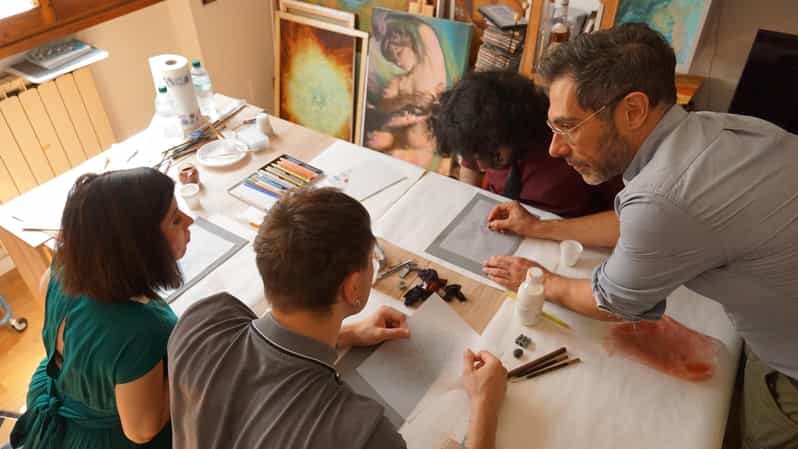
This is where the workshop turns into that satisfying, click-by-click build. You won’t start by guessing how to draw a lily. You start by shaping it using a small prop to carve the outline on your canvas. That gives you the structure quickly, without you having to be an artist first.
Next comes the dusting technique to trace the lily shape. Think of it as transferring the design cleanly onto your canvas. If you’ve ever struggled to draw symmetrically, you’ll appreciate how this step reduces that frustration.
Then Andrea has you join the dots with pencil to connect the points that form the image. This step is surprisingly reassuring. It’s not “freehand your way through.” It’s follow the guide, then make the final outline choices with pencil before you move into the gold and color stages.
For you, the big value is confidence. By the time you reach the gilding step, you’re no longer wondering if your lily looks right. You’ve built it in the same order the instructor intends.
The gold-foil moment: gilding the lily edges
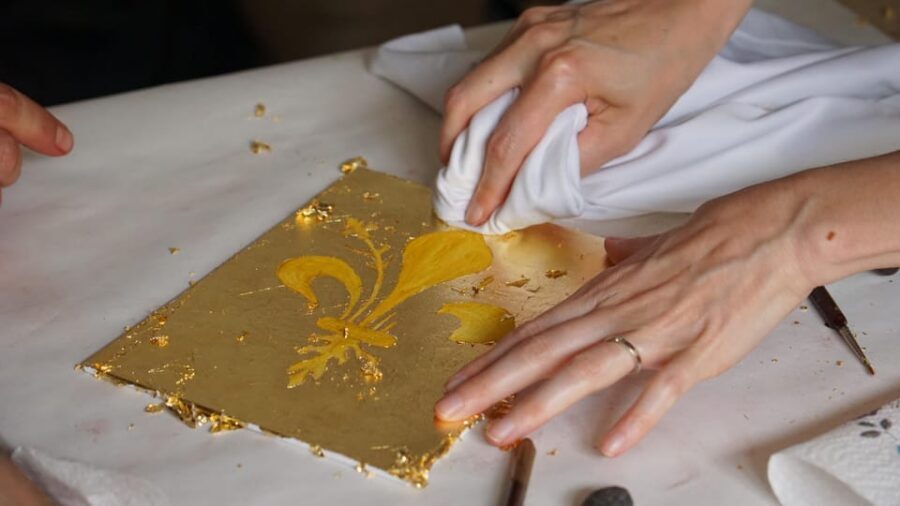
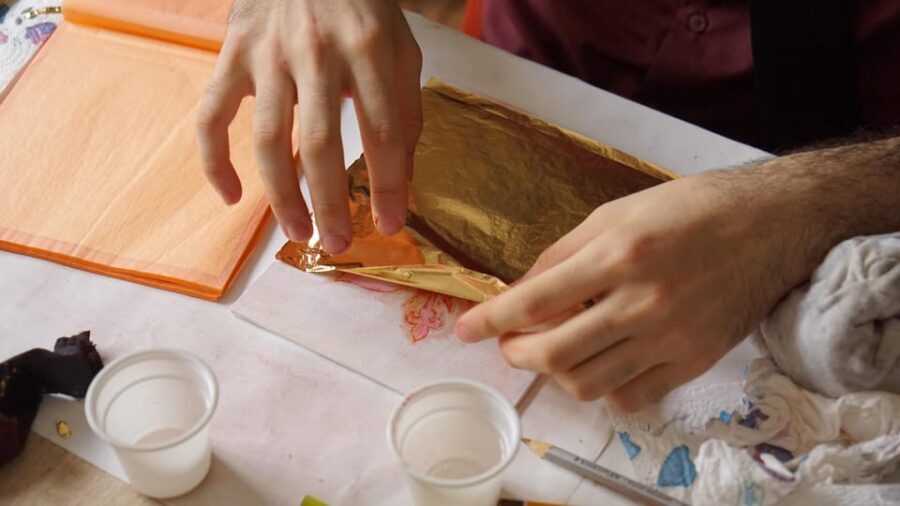
If there’s one part of this workshop that people get excited about, it’s the gilding. You place gold foil on the painting, then you remove it so it remains only within the edges of the lily design. The result is a golden background effect that makes the finished painting feel much more special than a standard “paint a picture” souvenir.
This is the portion that rewards patience. The technique is hands-on, and you’ll do the steps under Andrea’s direction. The upside is that it’s also fun and visual—you’re watching the design transform as the gold is revealed.
From a practical standpoint, gilding is also where you learn a real skill, not just a decorative craft. If you ever want to recreate a similar look later, you’ll walk away knowing the sequence: outline first, transfer correctly, then apply foil and remove it precisely inside the design boundaries.
Tempera painting: choose your lily color
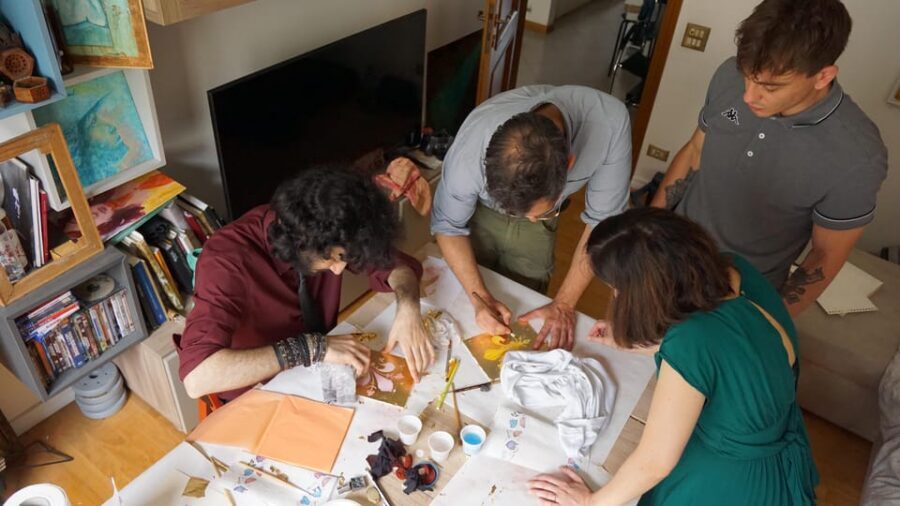
After the gold stage, the workshop moves into the part where you get to make it yours. You’ll paint the lily in the color of your choice using the tempera painting technique. That means you’re not stuck with a single “touristic default” color.
This step is great if you like customization. Do you want a classic feel? Go with a traditional palette. Want something more personal? You can pick a shade that matches your taste or your home decor.
The tempera method also ties the whole class together. Earlier steps are about transferring and shaping. Now you add the color that makes the final image readable and expressive. Andrea guides you through it step by step, so you won’t be left staring at a blank canvas waiting for inspiration.
- Tuscany Day Trip from Florence: Siena, San Gimignano, Pisa and Lunch at a Winery
★ 5.0 · 21,634 reviews



What you take home (and why it’s more than a souvenir)
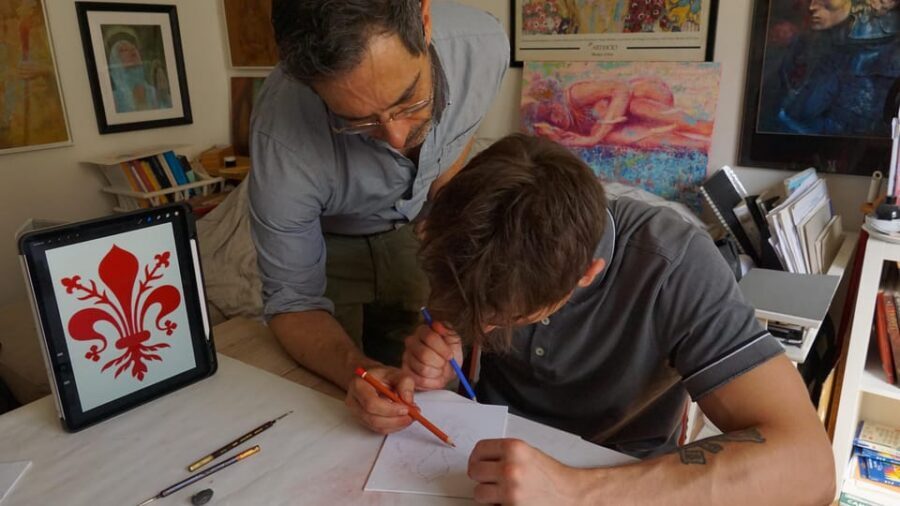
At the end, you take your artwork home. This isn’t just a certificate of participation. You’ll leave with a finished painting of the Florentine lily on a gold background that you created during the 3-hour session.
That matters because it changes how you remember the day. Most Florence activities give you photos. This gives you an object—something you can hang, gift, or keep as a reminder of learning a technique in an actual studio.
It’s also a simple gift idea. If you’re traveling with family, the fact that you made it yourself gives it instant meaning. And if you’d rather not buy another framed print from a shop, this gives you a more personal product with a clear story attached.
Duration, group size, and pacing in 3 hours
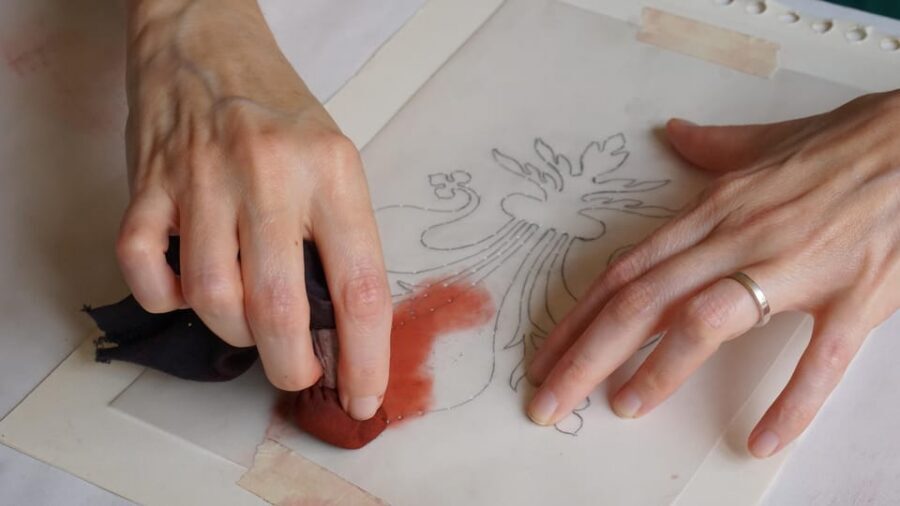
The workshop lasts 3 hours. Starting times depend on availability, so you’ll want to choose a slot that fits your sightseeing rhythm. Inside the studio, the pacing is structured, not free-form. You move through the lily-building steps in order: shaping and tracing, then pencil joining, then gilding, then tempera coloring.
The small group size—limited to 4 participants—is a major practical benefit. You’re more likely to get individual attention at the exact moment you need it, especially for the trickier parts like the gold-foil removal and keeping edges clean.
You’ll want to arrive with a clear mind and enough attention to follow instructions. This is a workshop, so you’ll get better results if you’re ready to focus for the full session instead of treating it like a casual side quest.
Price and value: what $141.61 buys you
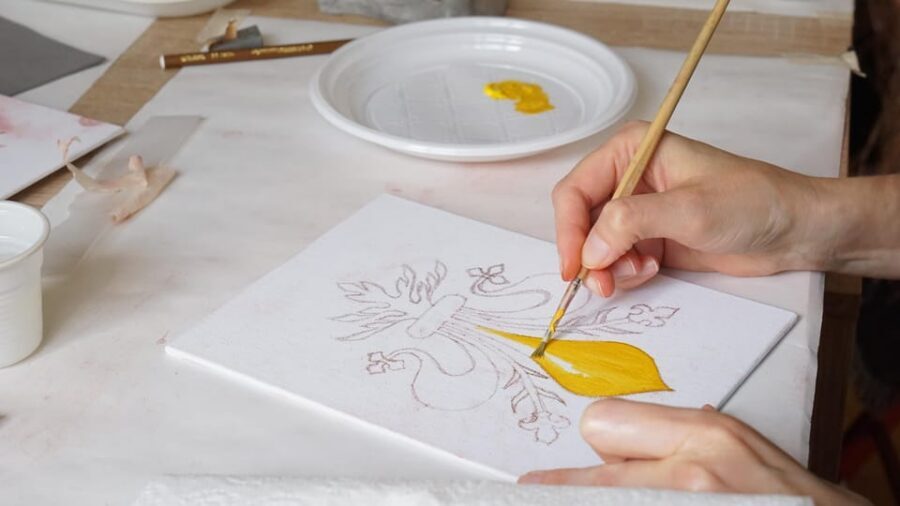
The price is $141.61 per person for the 3-hour class. On its face, that’s not pocket change. But the value equation here is that the cost includes the things you’d otherwise pay for yourself: canvas, pencils, brushes, glue, tempera paints, gold foil, and the tools/props needed to create the lily properly.
You’re also paying for Andrea’s guidance—25 years of experience—plus the fact that the class is designed so beginners can complete a polished piece. When you factor in materials and the time spent learning a technique (not just decorating), it starts to look like a fair trade for a tangible, finished souvenir.
Another value point: small group size. If this were a large class, the teaching time per person would drop. Here, the cap helps keep instruction accessible.
Who should book this workshop (and who might not)
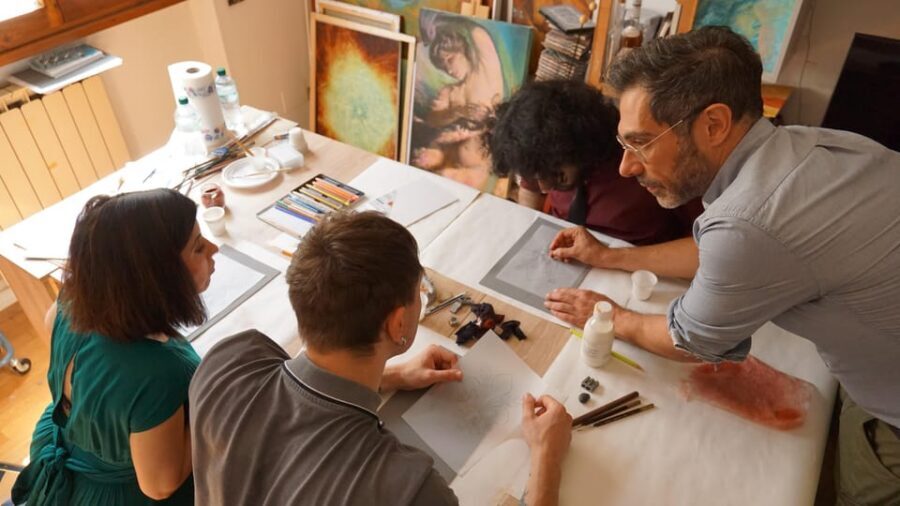
This workshop fits best if you want a hands-on Florence experience with a strong structure. It’s suitable for everyone, and you don’t need any prior skill. If you like step-by-step tasks, you’ll probably enjoy how the design builds in stages.
It may feel less ideal if:
- you dislike careful, detailed craftwork
- you want a quick, low-focus activity
- you’re traveling with younger kids, because it’s not suitable for children under 10
If your Florence plans include museums and walking days, this is a smart counterbalance. It gives you a quieter, more creative block where you’ll feel productive instead of just consuming sights.
Should you book it?
I think this is a solid booking if you want a Florence souvenir with real effort behind it. The mix of transferring the design, gilding with gold foil, and then finishing with tempera color creates a finished piece that looks special without requiring you to be an expert.
If you’re the type who loves making gifts, learning a technique, or bringing home something you made with your own hands, this workshop earns its time. Just block off the full 3 hours so you can enjoy the process instead of rushing through the steps.
FAQ
How long is the Florence painting workshop?
It lasts 3 hours.
Is the class beginner-friendly?
Yes. You do not need any kind of skill or experience to try your hand at it.
What languages are available for the instructor?
Andrea teaches in English, Spanish, and Italian.
How many people are in the group?
It’s a small group limited to 4 participants.
What’s included in the price?
All materials and tools are included, including canvas, pencils, brushes, glue, tempera, paints, props, and gold foil. You also take home the painting you create.
Where do I meet Andrea?
You start at 22 Via Enrico Petrella. Buzz the doorbell labeled Bacalini, and Andrea will open the door. The studio is on the third floor, with an elevator. The activity ends back at the meeting point.
You Might Also Enjoy




More Tour Reviews in Florence
- Tuscany Day Trip from Florence: Siena, San Gimignano, Pisa and Lunch at a Winery
★ 5.0 · 21,634 reviews - The Best tour in Florence: Renaissance & Medici Tales – guided by a STORYTELLER
★ 5.0 · 12,316 reviews