REVIEW · FLORENCE
Florence Photo Safari Walking Tours
Book on Viator →Operated by Florence Photo Safari Walking Tours · Bookable on Viator
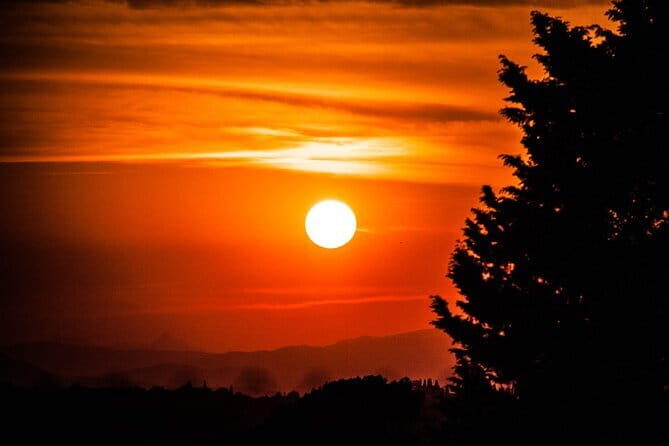
Your camera gets real scenery fast. This Florence Photo Safari turns the city’s hills into a gentle, photo-focused walk with real stops—not just quick look-and-go moments.
I especially like the mix of classic viewpoints and quieter streets: Piazzale Michelangelo for big views, then calmer areas like Arcetri for a less crowded feel. I also like that the pacing includes pauses, so you can actually compose shots instead of sprinting between landmarks.
One consideration: you’ll walk about two hours on a route with half uphill and half downhill, so comfortable shoes and moderate fitness matter.
In This Review
- Key things to know before you go
- Where the Florence Photo Safari starts: Tomb of Leonardo Bruni
- The walking plan: 3 hours that feel like a photo break
- Stop 1: San Niccolò for artisan detail and a city-meets-craft vibe
- Stop 2: Piazzale Michelangelo and the Rampe climb
- Stop 3: Basilica di San Miniato al Monte and the Parco della Rimembranza
- Arcetri area: Galileo’s neighborhood and a quieter Florence rhythm
- Via di San Leonardo to the Belvedere fortress
- The ancient fortification doors: finishing with a defensive edge
- What you should bring (and what matters more than you think)
- Who this tour fits best (and who should skip it)
- How good value is $34.57 for a Florence photo safari?
- A note on sustainability and the small-group feel
- Should you book this Florence Photo Safari?
- FAQ
- How long is the Florence Photo Safari Walking Tour?
- What time does the tour start?
- Where do I meet the guide?
- Is there a group limit?
- What should I bring for the tour?
- Is bottled water included?
- Is the tour suitable for everyone physically?
- What happens if the weather is bad?
Key things to know before you go
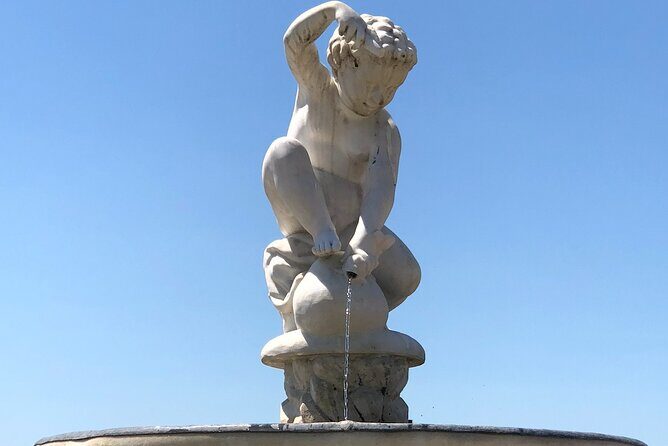
- Max 10 travelers means you get a calmer, easier photo flow.
- A camera-friendly route pairs viewpoints with short hang-time for pictures.
- Hill walking with pauses keeps the pace gentle but steady.
- Multiple photo settings: courtyards, gardens (when possible), church grounds, and fort views.
- Bring your own gear and water since bottled water isn’t included.
Where the Florence Photo Safari starts: Tomb of Leonardo Bruni
The tour begins at the Tomb of Leonardo Bruni in Piazza di Santa Croce (16), right in the center of Florence. Starting near this busy core is smart: it’s easy to reach by public transportation, and you’re already close to some of the city’s main landmarks.
Meeting at a fixed point also helps if you’re traveling with photo gear. You can check your settings, wipe your lens, and get your bearings before you start climbing. And because the tour ends back at the same spot, you don’t have to plan your afternoon around a new neighborhood.
You can also read our reviews of more walking tours in Florence

The walking plan: 3 hours that feel like a photo break
The whole experience runs about 3 hours (approx.). The real walking time is around 2 hours, with a route that’s roughly half uphill and half downhill. The pace is described as gentle but steady, which matters in Florence—where some paths are uneven and the sun can be loud even in the morning.
You’ll get several pauses specifically to enjoy the view and take photos. That’s the difference between a standard sightseeing walk and a photo safari: you’re not just passing by sights; you’re stopping long enough to frame them.
Practical note: this is not a sit-down tour, so plan for your body and your camera at the same time. Wear comfortable clothes and shoes, and bring sunscreen. Also bring water, because bottled water isn’t included.
Stop 1: San Niccolò for artisan detail and a city-meets-craft vibe
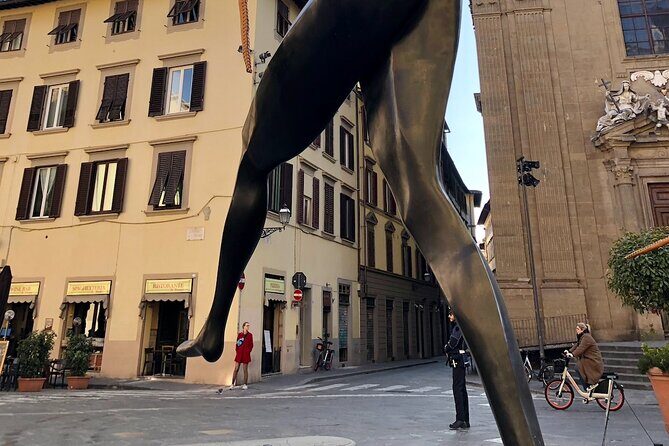
The first stop is San Niccolò, a quarter that’s described as artistically interesting and packed with small, specialized shops. This is where the tour gives you a Florence that goes beyond the main postcard icons.
You’ll pass areas tied to artisan gold-smiths, contemporary artists, and high-end niche perfumery. Even if you don’t stop to buy anything, these storefronts can be photo gold—tight streets, signage, and that “someone made this on purpose” feeling you don’t always get in bigger tourist areas.
One small caution: if you’re expecting a single huge landmark photo moment here, San Niccolò is more about atmosphere. Think detail shots, street textures, and the human scale of the neighborhood.
Stop 2: Piazzale Michelangelo and the Rampe climb
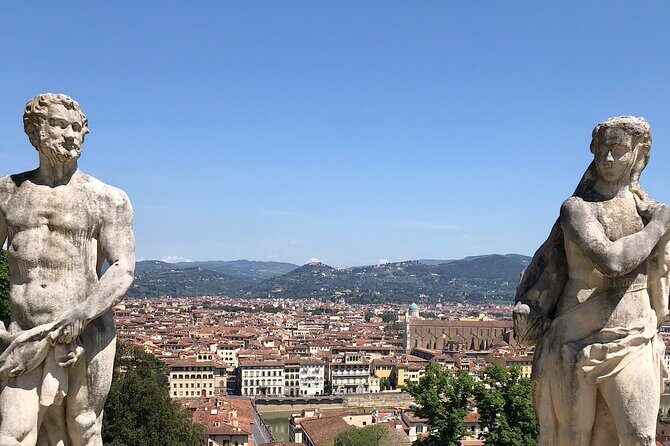
Next comes the climb to Piazzale Michelangelo. You’ll travel through the Rampe, described as a boulevard route with breathtaking city views. Along the way, you’ll pass the San Niccolò Tower, and when conditions allow, you may also get time near the Rose Garden and/or the Iris Garden.
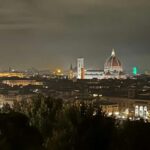
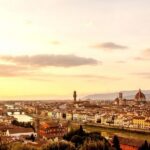
This is the classic Florence viewpoint for a reason. It’s high enough to make the city feel organized under you, but you can still capture foreground details—buildings, towers, and the geometry of streets stretching below. If you shoot with a phone, this is a good place to use HDR-style settings (if your camera app offers it), because bright sky and darker buildings are common up here.
Weather matters here too. If the air is hazy, the distance shots won’t look as crisp. But even then, you can focus on the “layers” of Florence—skyline, mid-distance rooftops, and your closest architectural edges.
Stop 3: Basilica di San Miniato al Monte and the Parco della Rimembranza
From Piazzale Michelangelo, the route heads toward Basilica San Miniato al Monte. You’ll pass by Basilica di San Salvatore al Monte, which Michelangelo is said to have defined as La bella villanella (The beautiful peasant woman). That’s a fun touch because it hints at how art and architecture have always been part of Florence’s hillside identity.
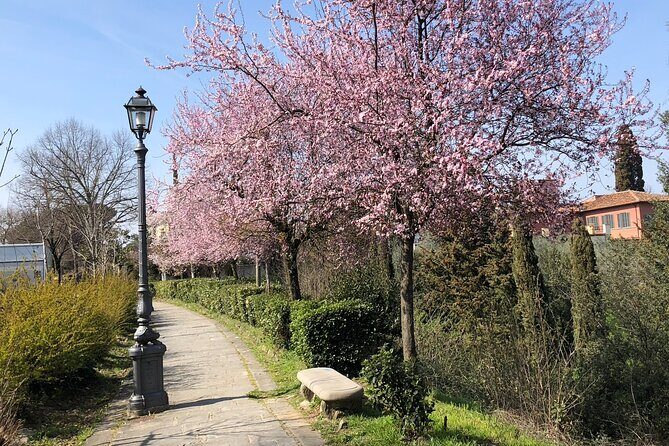
To reach San Miniato, you’ll walk through Parco della Rimembranza surrounding the basilica. For photography, parks like this can be a breather: you get greenery and softer backgrounds that make stonework stand out. For visitors, it also breaks up the more intense city-view energy with something calmer.
Possible drawback: depending on timing and weather, the “best” light for church-and-park shots might not be perfect. Still, the basilica area gives you angles you can’t easily find at street level.
You can also read our reviews of more tours and experiences in Florence
Arcetri area: Galileo’s neighborhood and a quieter Florence rhythm
After the basilica area, you head through Arcetri. This is one of those parts of Florence that feels like it’s running on its own schedule. You’ll pass Galileo Galilei in the area and enjoy a route through a greener, calmer zone that’s described as less visited.
Arcetri also connects you to some of the city’s more elegant homes—mansions—so your photos can shift from view-heavy to character-heavy. You can look for contrasts: hillside calm against stone architecture, wide sightlines against narrow paths.
This stop also helps you understand Florence beyond monuments. It’s an area where the city feels lived-in, not staged.
Via di San Leonardo to the Belvedere fortress
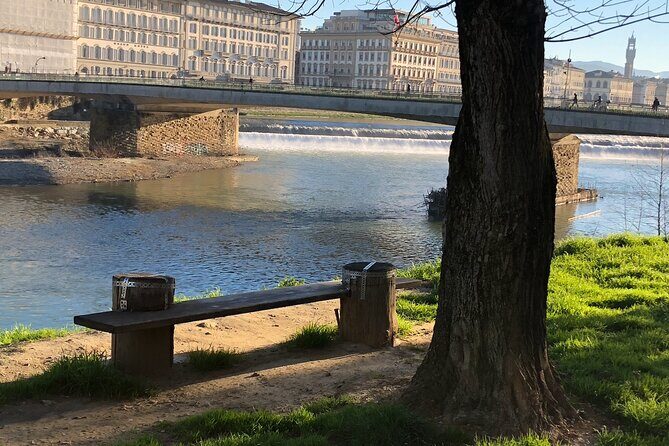
Then comes Via di San Leonardo, described as one of Florence’s most beautiful small streets. This street is associated with Tchaikovsky, and the route passes by a church before reaching the Belvedere fortress.
For photos, small streets are tricky (you can’t always zoom out far), but they reward you with strong perspective lines. If you like portrait-style compositions with verticals, this is a good stretch to practice holding steady and keeping your horizon level.
Reaching the Belvedere fortress adds another viewpoint layer. Fortifications always read well in photos: stone textures, defensive silhouettes, and the feeling of looking out from a “purpose-built” spot. Even without technical camera tricks, you’ll get strong frames.
The ancient fortification doors: finishing with a defensive edge
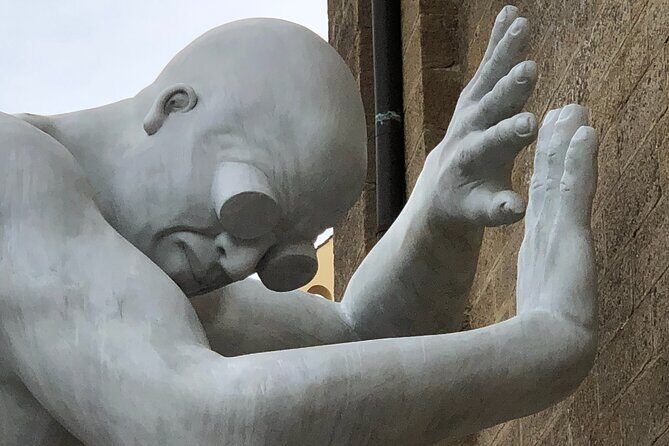
Near the end, the tour includes walking through standing ancient fortification doors—part of Florence’s defensive mechanism through the centuries. This is a nice closing beat because it shifts your photo story from panorama to structure.
These doors can be dramatic in small formats and equally good if you prefer wider environmental shots. Look for how the doorway frames light and the pathway ahead. These are the types of images that make your photo set feel like a story, not just a list of famous places.
What you should bring (and what matters more than you think)
This is a tour built around your own equipment. That can be a Polaroid, a smartphone, or a full camera body—whatever you’re comfortable using. The key is that the route gives you real chances to shoot, so you want to be ready to capture without scrambling.
Bring:
- Water (bottled water isn’t included)
- Comfortable shoes for uphill/downhill walking
- Sunscreen
- Your camera/phone/Polaroid and any normal accessories you like
If you’re using a phone, charge it fully before you go. Florence hills plus photo time can drain batteries faster than you expect, especially if you’re reviewing shots as you go.
Also, dress for weather. The tour runs only with good weather requirements. If it’s canceled due to poor weather, you’ll be offered a different date or a full refund.
Who this tour fits best (and who should skip it)
You’ll like this tour if you:
- Want photography-focused walking rather than a strict museum route
- Enjoy hill views and prefer quieter city corners like Arcetri
- Are comfortable walking for about two hours with some uphill sections
You might want to skip it if you:
- Have trouble with moderate walking or uneven city paths
- Expect lots of indoor time or short, flat distances
- Want bottled water provided (you’ll need to carry it)
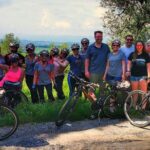
The group size helps here. With a maximum of 10 travelers, it stays manageable for photos and keeps the vibe friendly instead of chaotic.
How good value is $34.57 for a Florence photo safari?
At $34.57 per person, you’re paying for a structured, guided walk that gives you both viewpoints and less-visited neighborhoods. This isn’t a “transport + entry tickets” style tour. The included value is the route planning, the stops, and the pacing with pauses so you can photograph without feeling rushed.
It’s also a smart value move for photographers on a budget. You’re spending on access to the route and local context, not on add-on activities or expensive museum entries. The stop descriptions indicate admission ticket free for listed areas, and the main items you’re responsible for are simple: your gear and your water.
If your priority is a camera-ready morning and you don’t mind walking, the price feels reasonable for what you get.
A note on sustainability and the small-group feel
The tour emphasizes sustainability—there’s a one-planet message and a friendly tone. In practical terms, that usually means you’re walking instead of hopping around in vehicles, and you’re spending time in areas that feel calmer and less crowded.
Small groups also matter. When there are fewer people, you can find your photo angle faster and wait for the “right moment” without blocking others for long.
Should you book this Florence Photo Safari?
Book it if you want a morning that mixes big Florence views with quieter hillside neighborhoods and you like taking time for photos. It’s especially good for casual photographers, phone shooters, and anyone who wants a guided route that makes sense for hill walking.
Skip it if you need a mostly flat walk, or if you want bottled water included. And because it depends on good weather, have a backup plan in your schedule for a possible date change.
If you’re building a Florence trip around authentic, lived-in areas (not only the headline spots), this is a strong choice.
FAQ
How long is the Florence Photo Safari Walking Tour?
The tour lasts about 3 hours (approx.), with around 2 hours of walking.
What time does the tour start?
The start time is 9:00 am.
Where do I meet the guide?
The meeting point is the Tomb of Leonardo Bruni, Piazza di Santa Croce, 16, 50122 Firenze FI, Italy.
Is there a group limit?
Yes. The tour has a maximum of 10 travelers.
What should I bring for the tour?
Bring your own photo equipment (from a Polaroid to a smartphone or a camera), plus water, comfortable clothes, comfortable shoes, and sunscreen.
Is bottled water included?
No. Bottled water is not included, so you should provide your own water.
Is the tour suitable for everyone physically?
It’s described as suitable for travelers with a moderate physical fitness level.
What happens if the weather is bad?
The experience requires good weather. If it’s canceled due to poor weather, you’ll be offered a different date or a full refund.
You Might Also Enjoy
More Walking Tours in Florence
More Tours in Florence
- The Best tour in Florence: Renaissance & Medici Tales – guided by a STORYTELLER
★ 5.0 · 12,316 reviews
More Tour Reviews in Florence
- Tuscany Day Trip from Florence: Siena, San Gimignano, Pisa and Lunch at a Winery
★ 5.0 · 21,634 reviews - The Best tour in Florence: Renaissance & Medici Tales – guided by a STORYTELLER
★ 5.0 · 12,316 reviews